Following the set up of the Slice App by your Brightspace Administrator, Slice URLs can be added to your course.
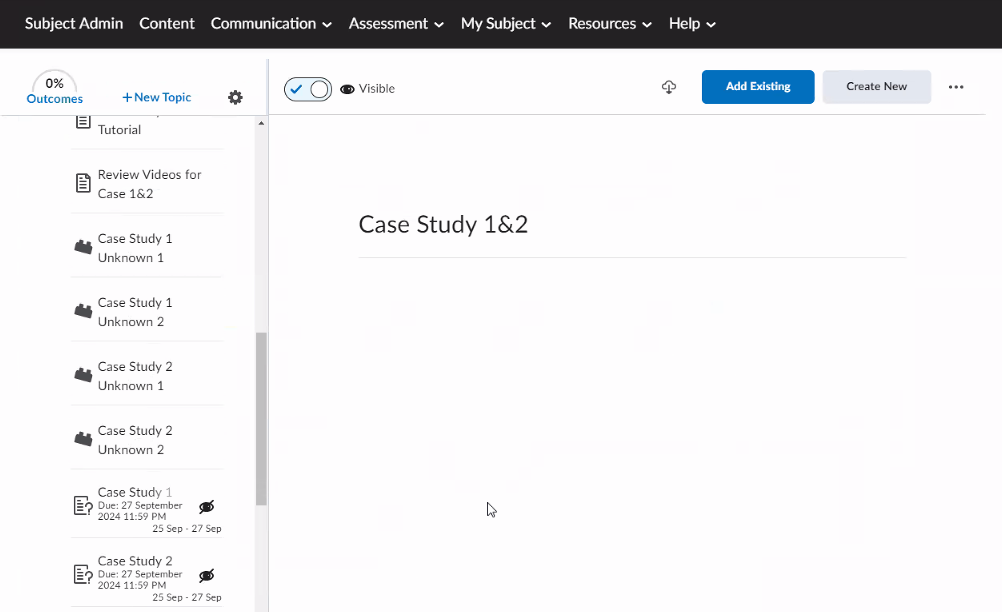
1. Navigate to the area you wish you add a Slice link to. Click Add Existing in the top right hand corner.
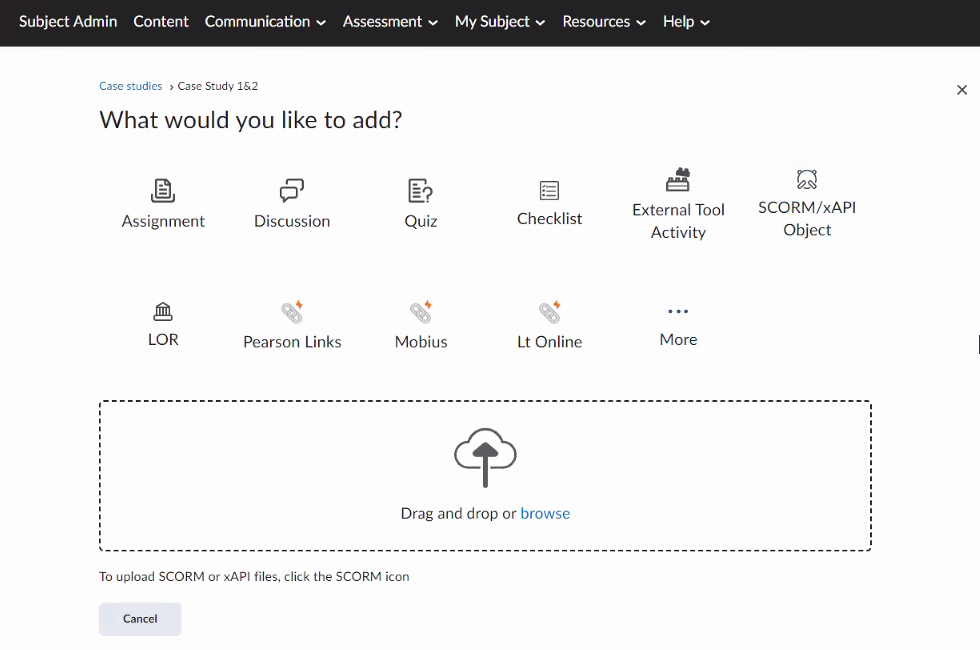
2. Click the More option at the end of the list.
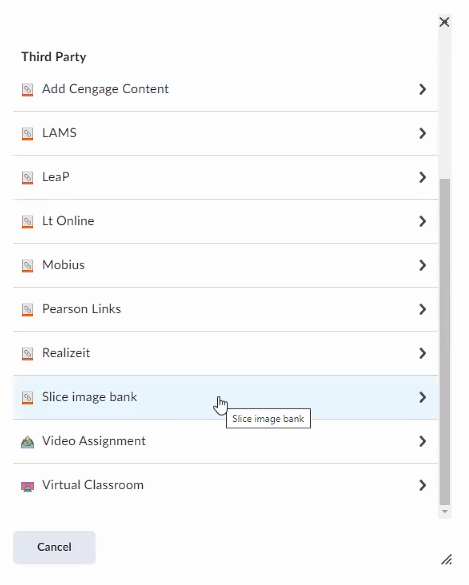
3. Search for and click on Slice image bank (may depend on what your Brightspace Administrator has named the tool).
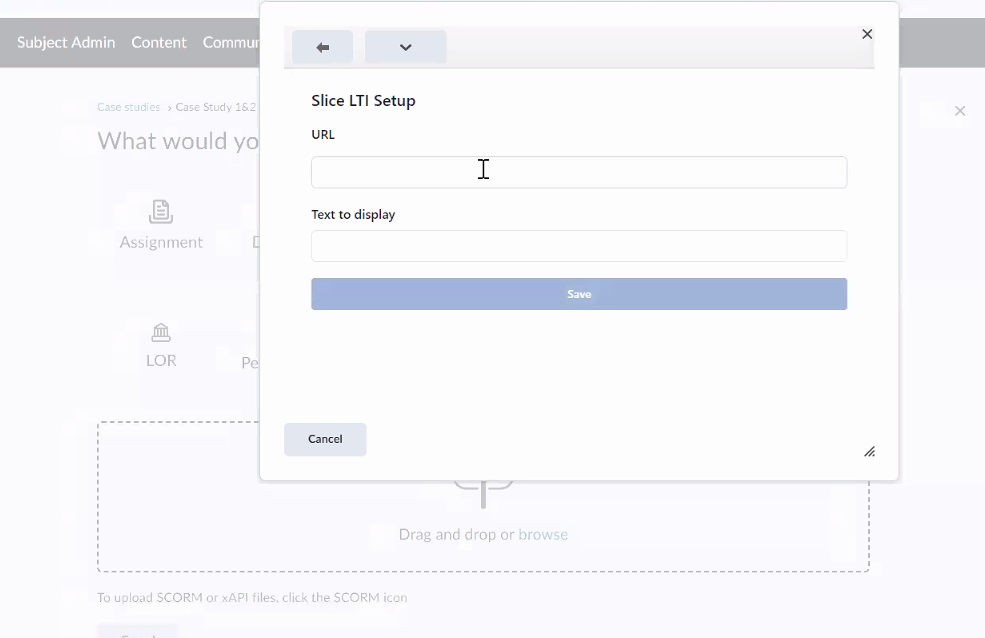
4. In the pop up window that opens add the URL to your chosen Slice image, layer, collection, collaborative activity or question. Then click Save.
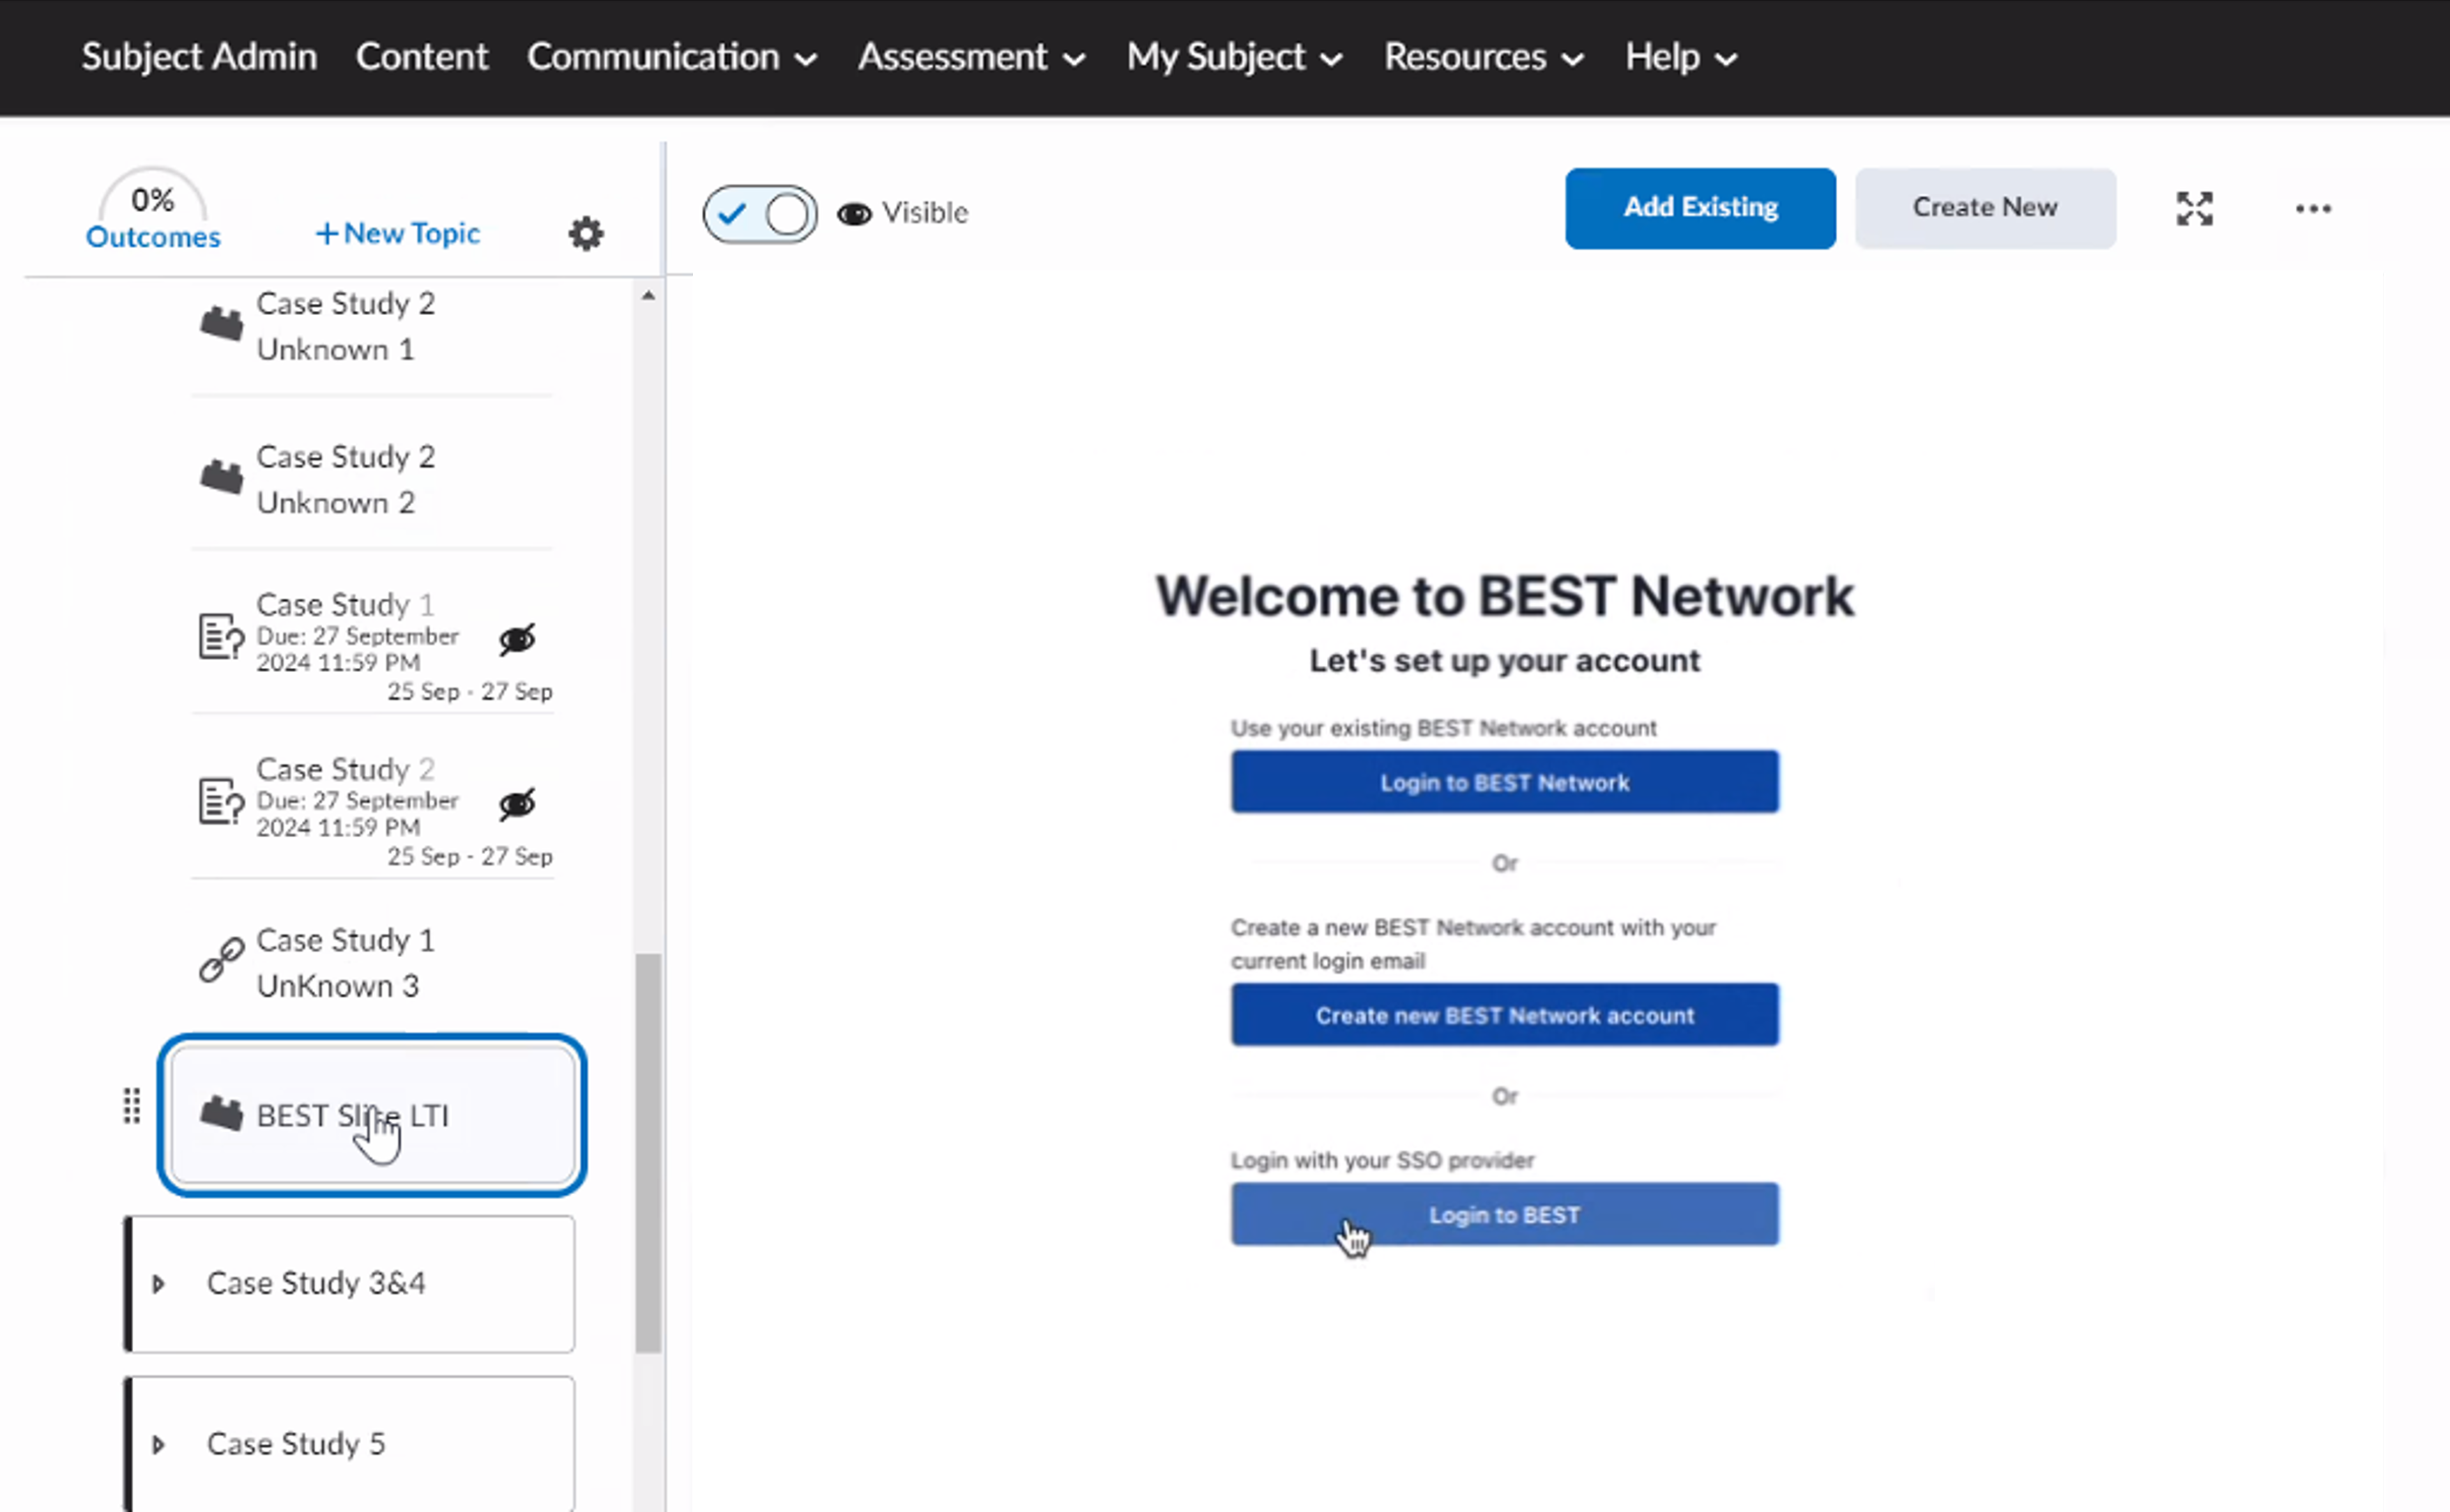
5. When your course page is loaded you will see an element tool link that is called BEST Slice LTI. When you click on this it will show the sign in page for the tool. Options are available for both logging into an existing account or creating a new account. Choose an option and sign in to your account. This is a one-time only activity for each individual user. For all future instances of this tool you will be automatically logged in.
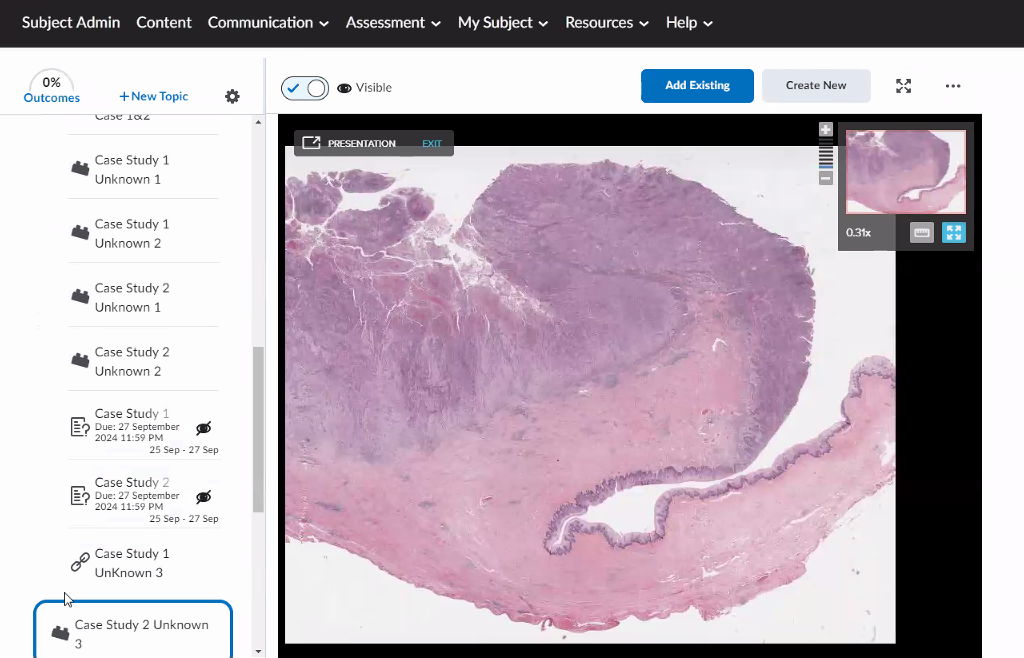
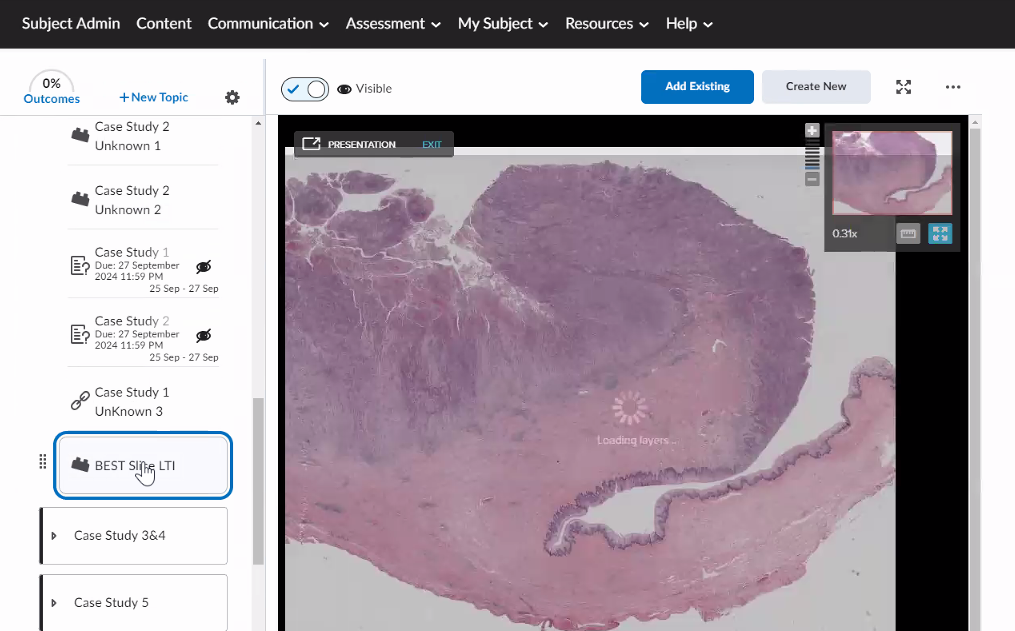
6. After logging in the activity will load and show the image, layer, collection or question you have added to your course.
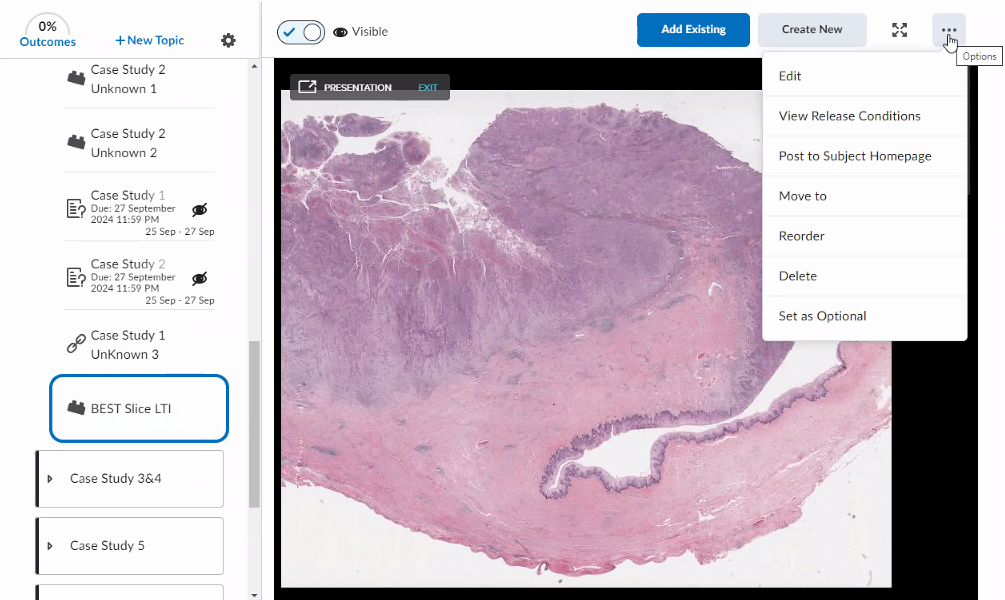
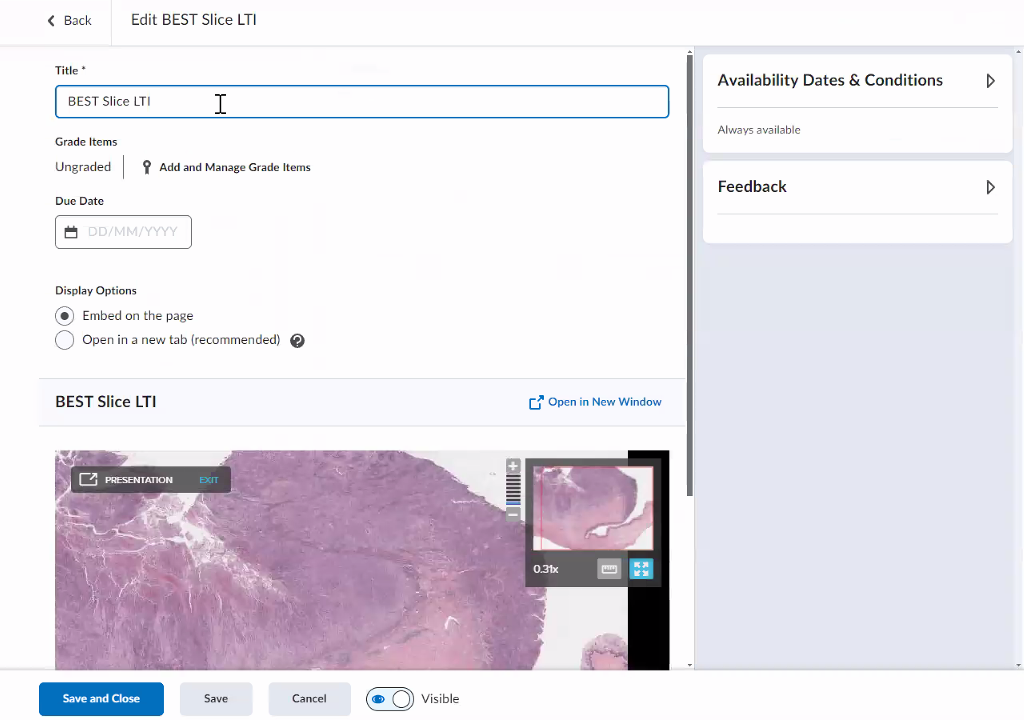
7. You may choose to edit the title of the activity, particularly if multiple Slice images and layers have been added to your course. To do this, click the three dots icon and choose Edit from the dropdown list.
8. Replace the Title field with a more appropriate name for your activity. Then click Save and Close.
Note: You can also choose at this point to Embed the activity in the page, or Open it in a new tab. This is personal preference though Opening in a new tab will give students more space for navigating images.
9. The process is complete and the Slice activity is ready to be used in your class.